This is a classic Italian Crostoli recipe from Nonna Lina’s cooking archives.
Mix in a cup at a time of the self raising flour into the egg mixture,
create a well of flour onto the table, work bench or board of which you will be kneading the dough onto,
put the egg dough mixture into the flour well and start to incorporate the well flour into the egg mixture,
little by little until a non sticky ball of dough has formed, adding flour as you go along. (note: no set amount due to texture effect is the importance rather than amount)
with ball created with enough flour so as not to be sticky, and handling made easy, return the dough back to your starter bowl and cling wrap to place into the fridge for 1 hour resting time.
While waiting for your dough, time to set up your pasta machine, (using a motorized attachment works well if you have one), but if you don’t that’s ok too, you will need a little more hand work that’s all.
Remove dough from the fridge and cut off wedges, flour the work bench or table and roll with a rolling pin if you don’t have a pasta machine, or take a wedge of your dough and flour,
on the largest setting on the pasta machine on flat setting, place through once, then fold and repeat,
then make your setting smaller and repeat the above process, continue with this method until you have reached a thin wide ribbon, remembering to flour all along to keep the dough from getting sticky or too soft.
You should be able to see your hands shadow through the ribbon of dough, but not so thin that it would break or lose the firm fine texture that it should be.
Place the length from left to right in-front of you on a table cloth or tea towels, so as not to dry out the dough ribbons, working quickly so as not to allow the ribbons to dry out. Cut strips about 2 fingers width, then place a slit into the center of the 2 finger ribbon creating an opening to turn one end of the ribbon in a around a looping twisted fashion.
Once cutting and shapes are done, place on a platter or tray to keep close to you while frying takes place, and do not leave the fryer at any stage. This is a good time to prepare trays and bowl with absorbent paper lining for excess oil drippings. This will allow the crostoli to keep crisp after draining excess oil.
Start the frying process with one crostoli alone first to check how hot the oil is and how much time is needed to achieve that light golden color.
Tip: Have a pair of tongs for fast turning and a draining scooping utensil.
Drain finally in lined trays and bowls, allow to fully cool.
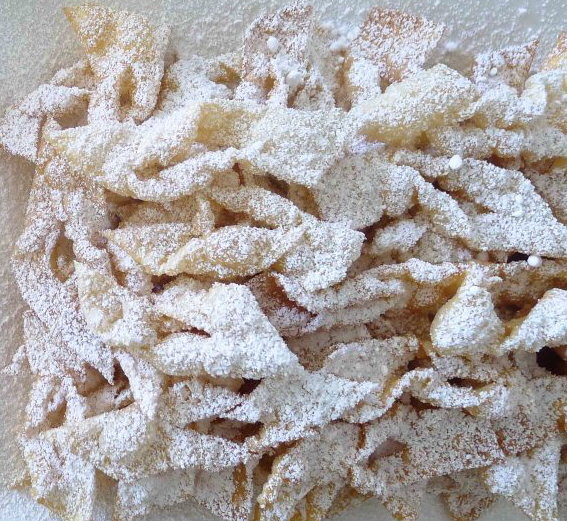
Before serving, dust the crostoli with confectioners sugar on both sides. Place on your serving plate and enjoy!
A handy tip: Make a large batch and store the crostoli in an airtight container in your freezer without confectioners sugar, and when needed can be taken out of the freezer at anytime and dusted with sugar prior to serving up. They will taste as fresh as fresh baked. This is a handle way to plan a week or two or three ahead of time for those special occasions to enjoy without time pressure.
